Diy Court Installation
With simple snap-together connections, customers complete DIY court installation in less than a day.
Before You Start
1 FIX OR REPAIR BASE PROBLEMS
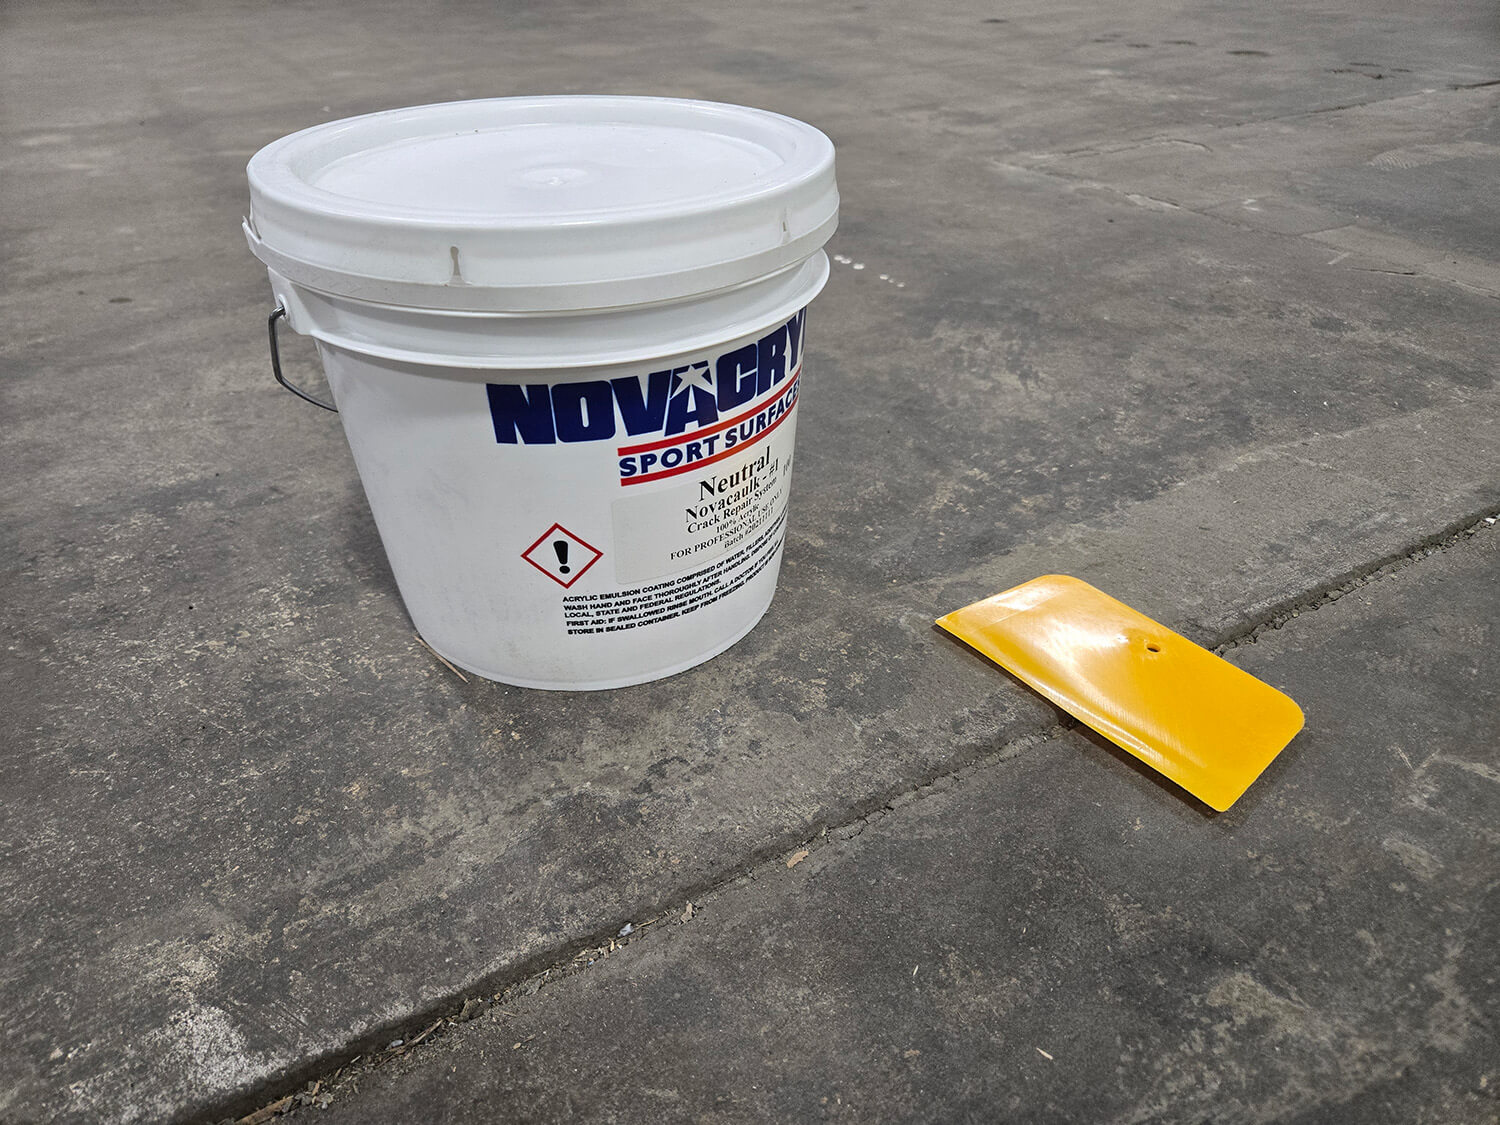
Your concrete or asphalt base determines long-term performance. Fill cracks wider than ¼". Level any vertical shifts where one side of a crack sits higher than the other. Repair depressions deeper than 1/16" (width of a nickel) that hold water after an hour of drying in the sun. Remove any loose or peeling surface coatings.
2 CLEAN THE SURFACE
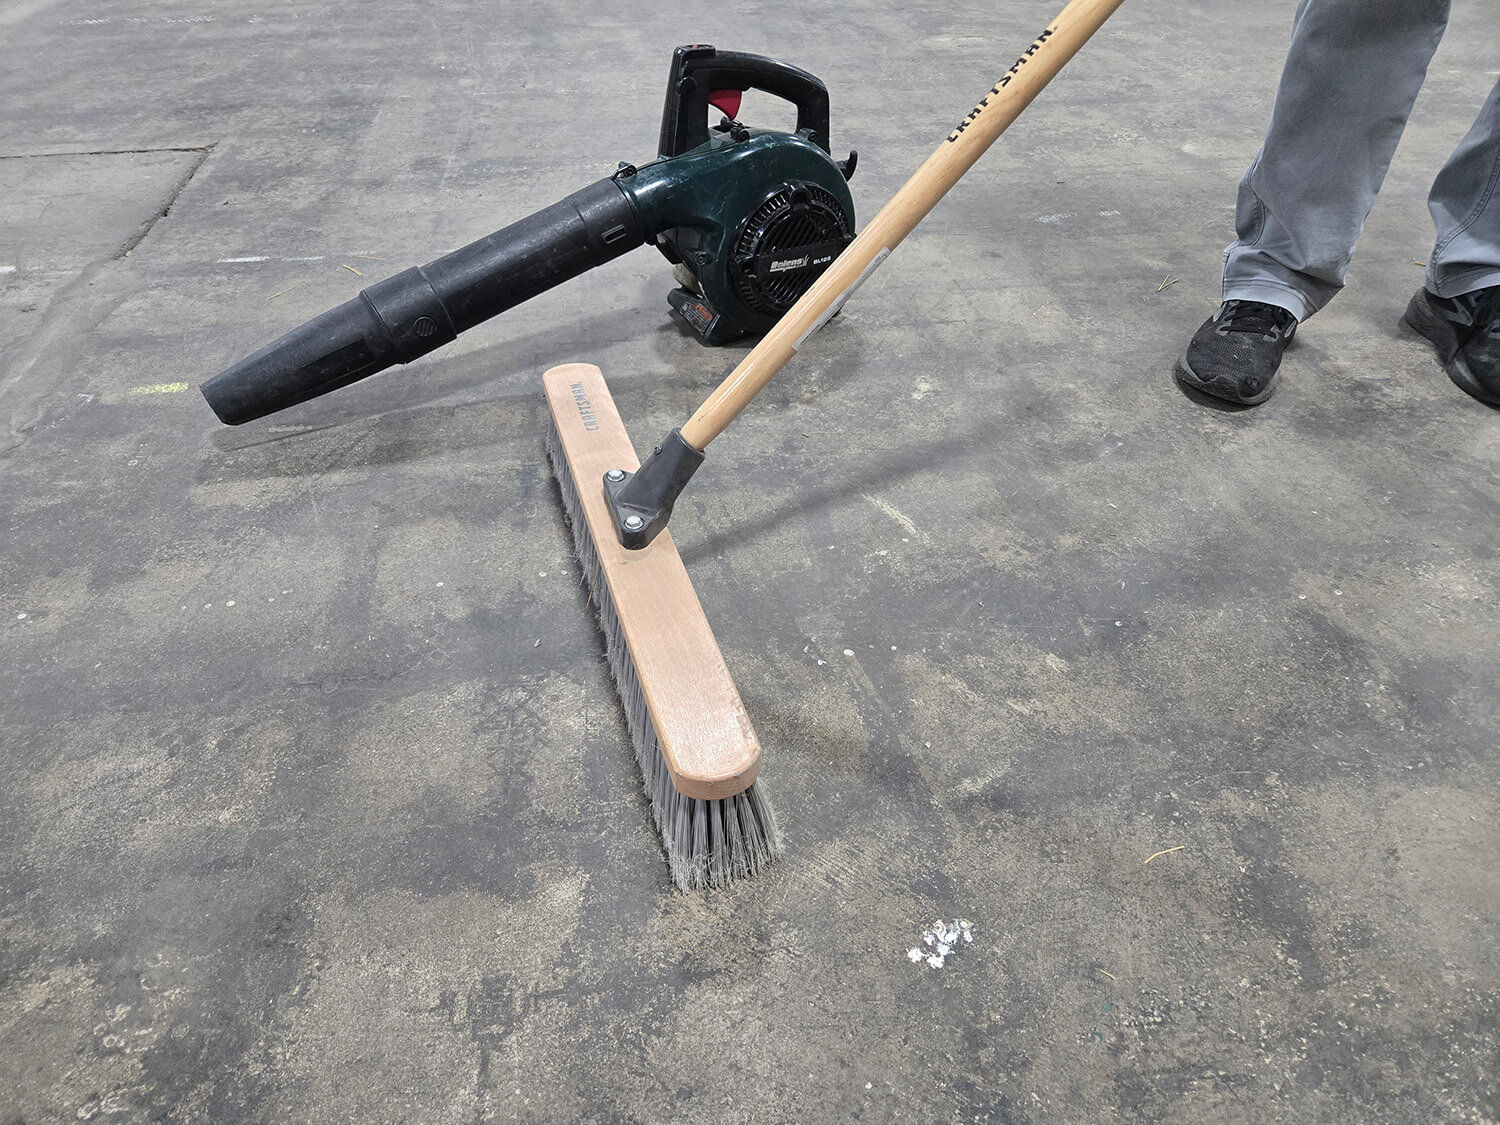
Sweep away all loose debris, dirt, and dust from the installation area. A clean base ensures proper tile contact and prevents uneven spots.
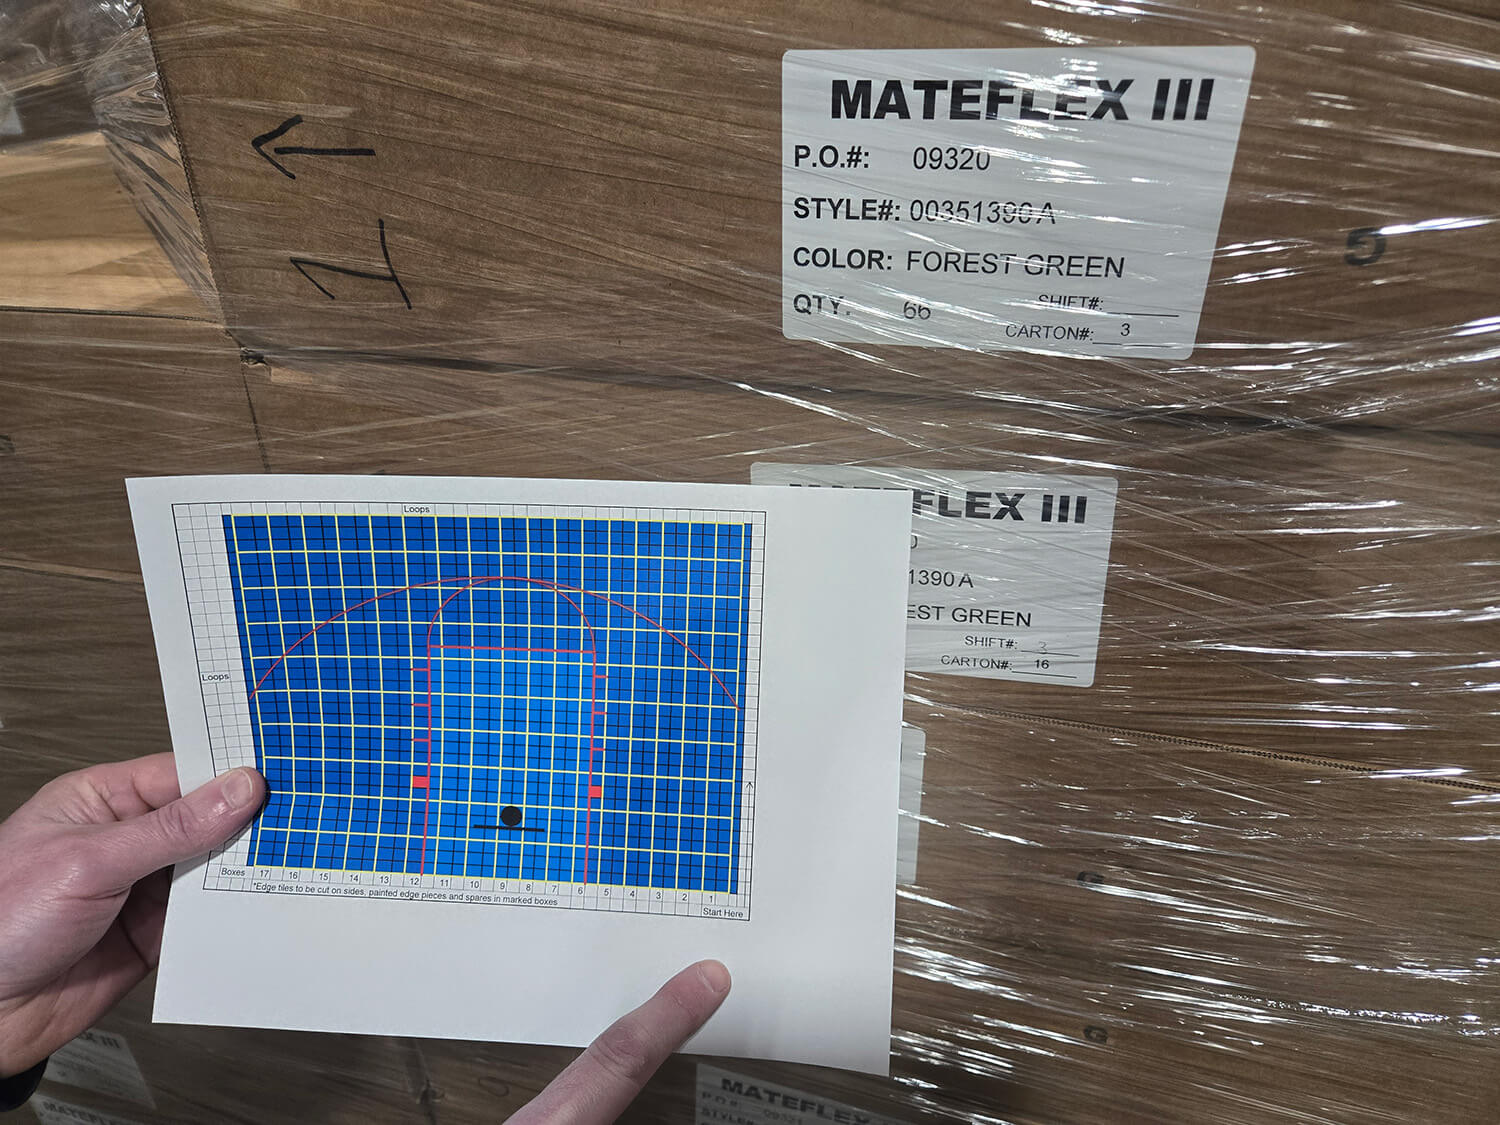
3 REVIEW YOUR LAYOUT PLAN
Your installation packet includes a numbered tile diagram specific to your court. Study this before opening pallets. It shows exactly where each section goes.
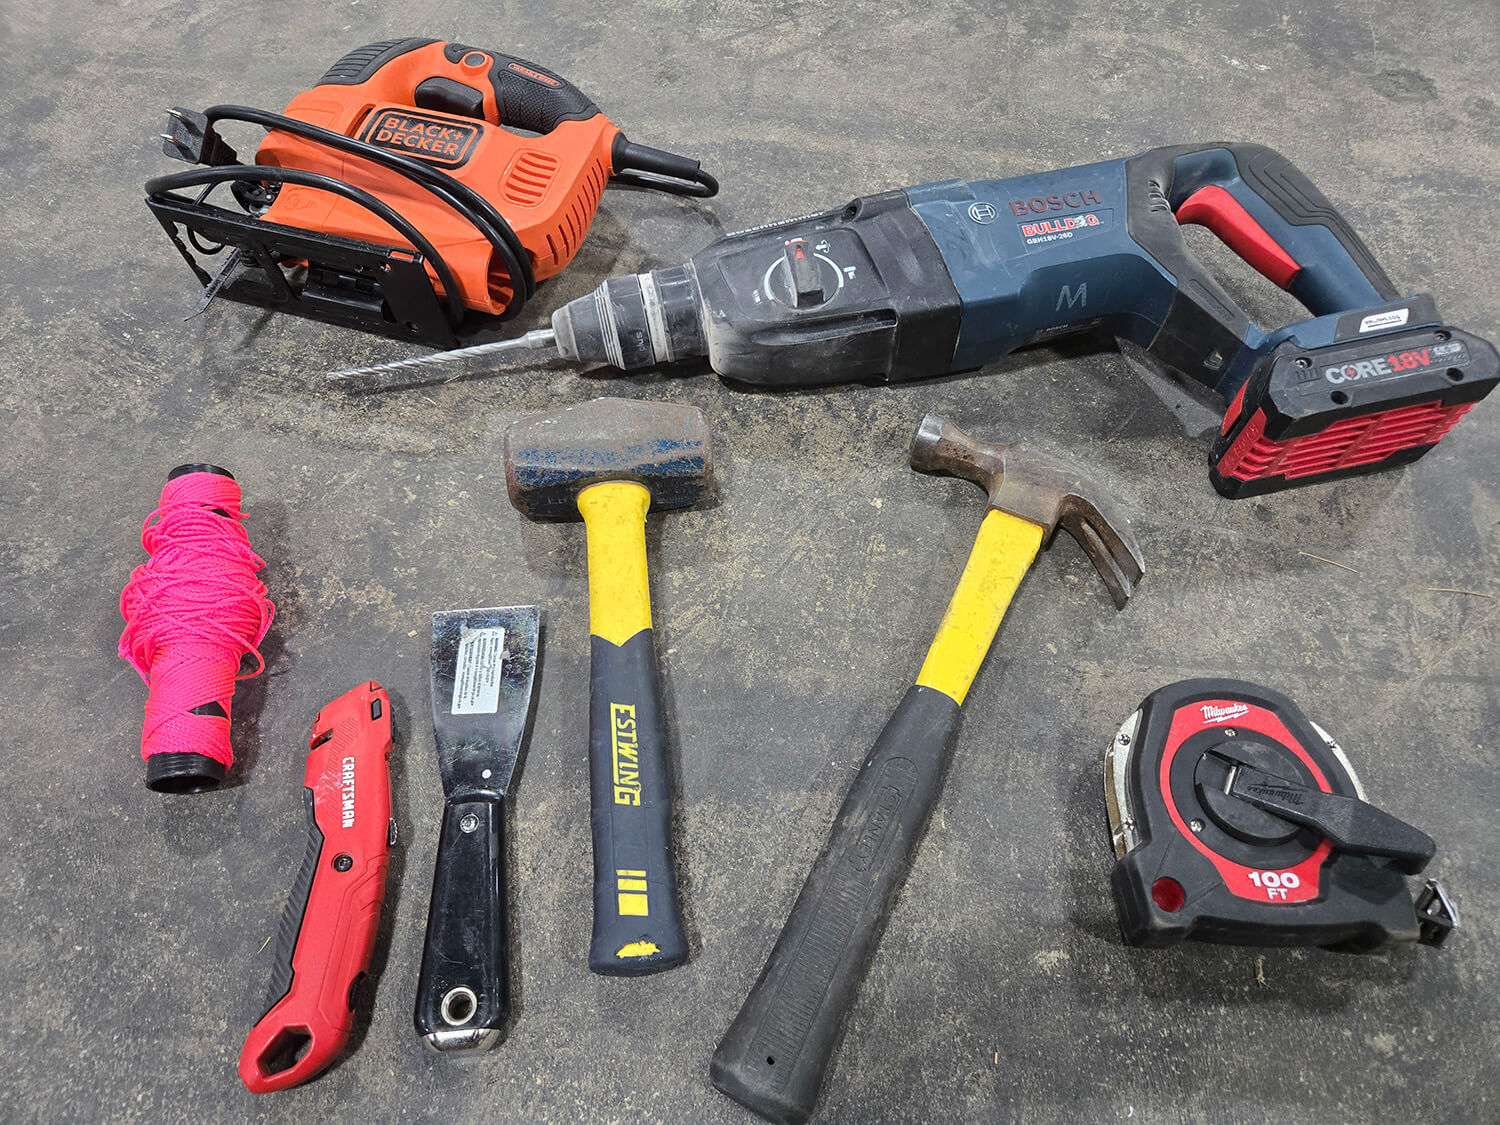
4 GATHER YOUR TOOLS
You'll need: 100-ft steel measuring tape, string line, drill, galvanized screws (concrete base) or special spikes (asphalt base), and basic cutting tools for perimeter trim if needed.
Installing Your Court
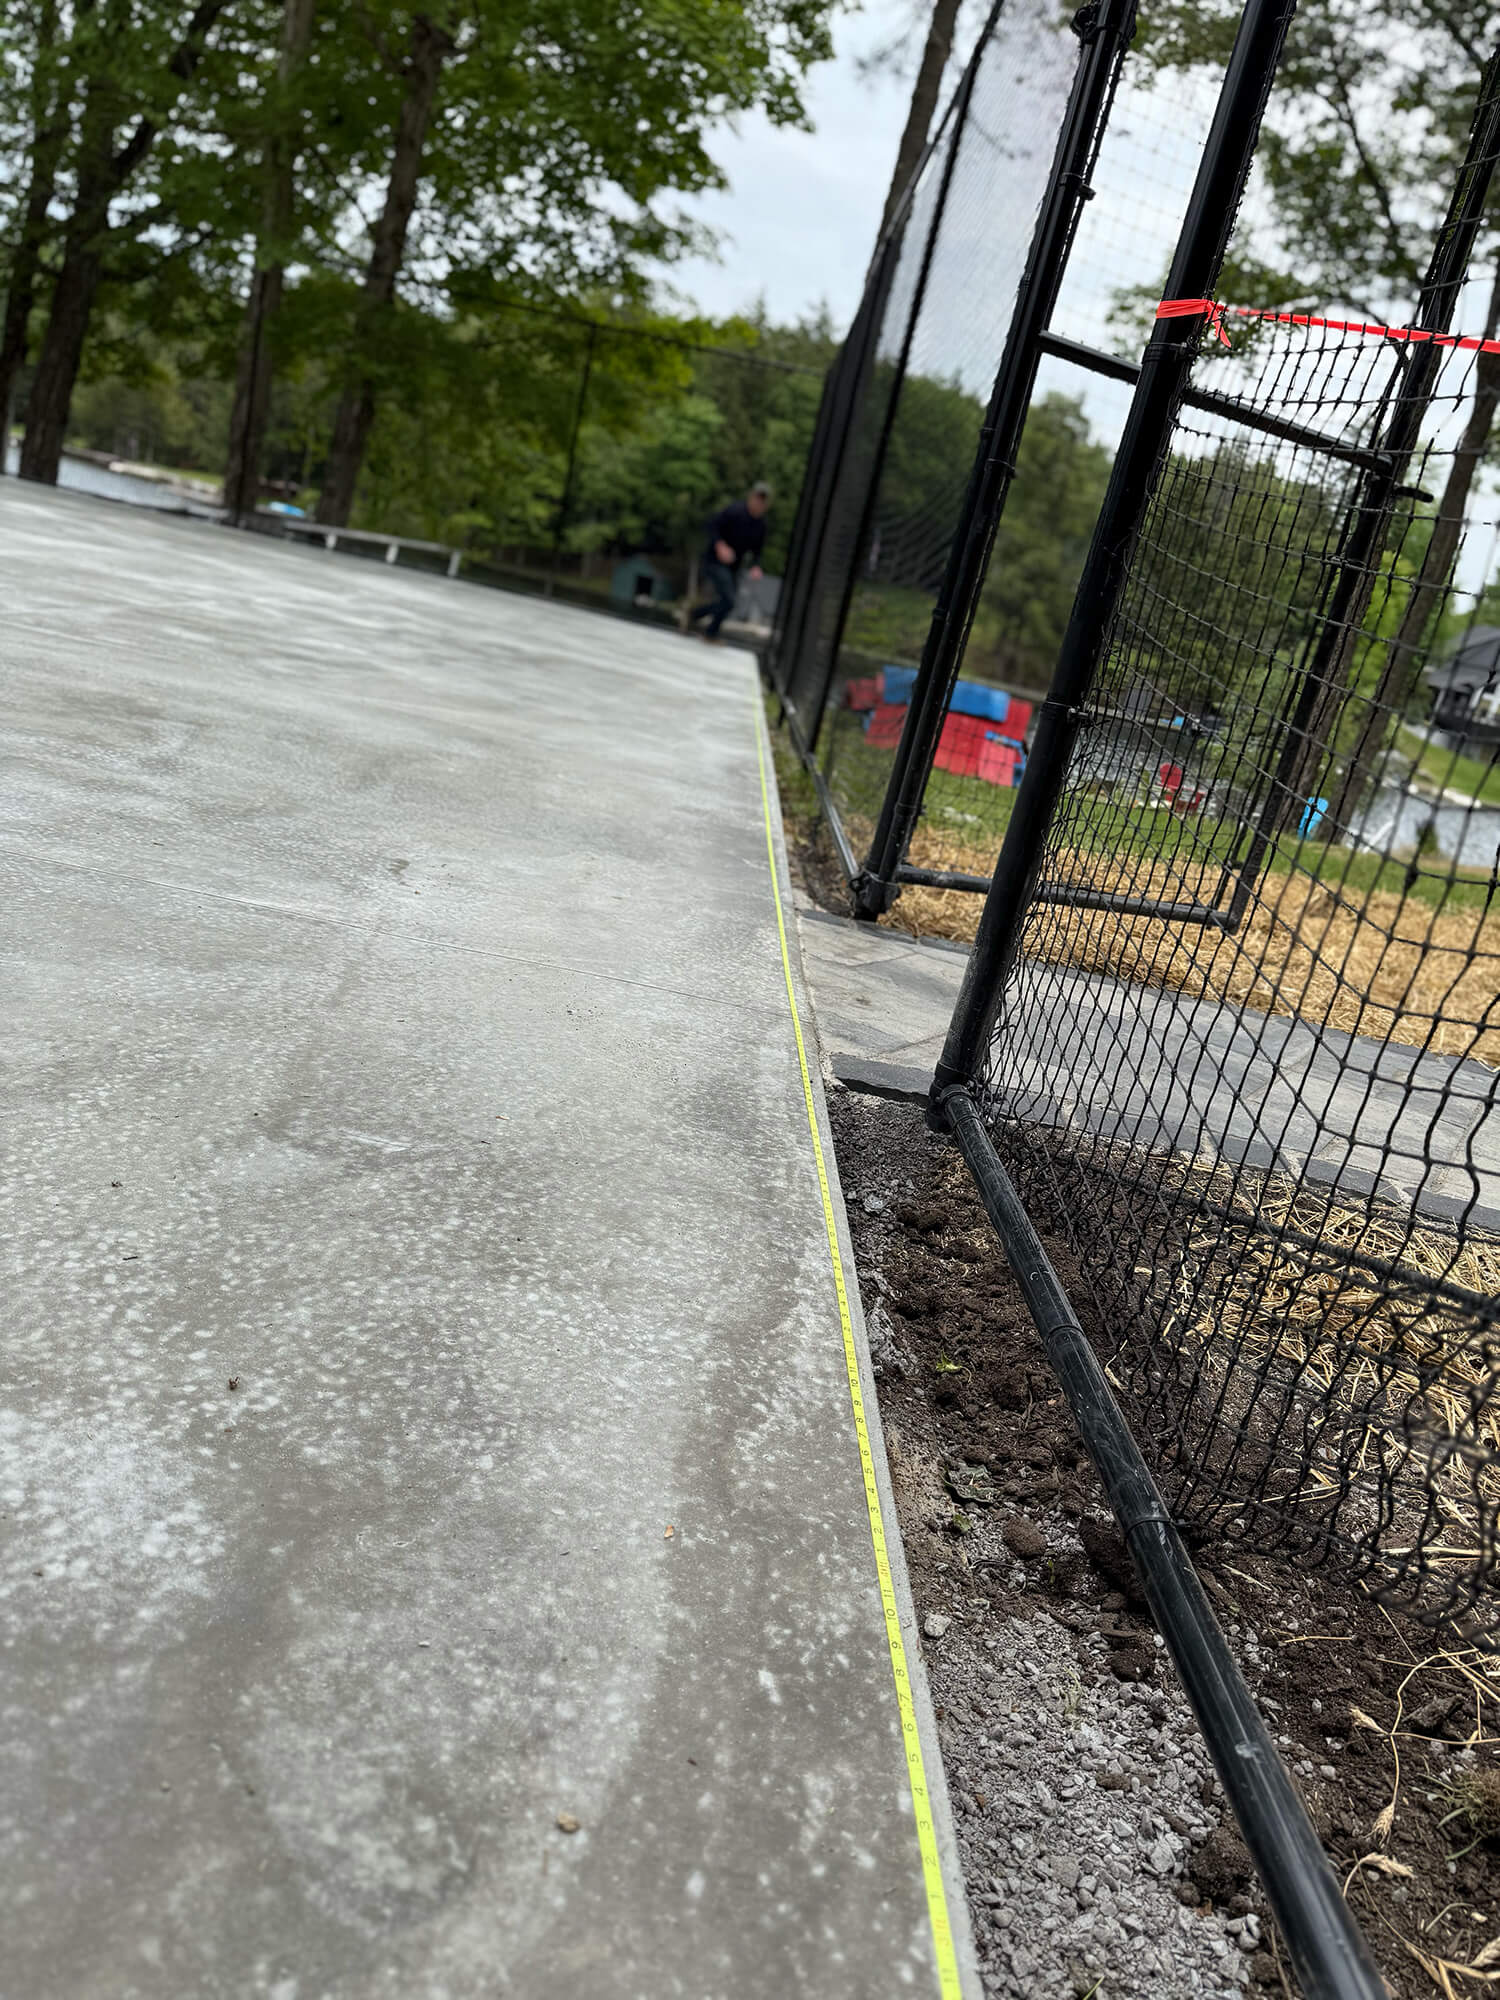


1 MEASURE AND MARK YOUR PERIMETER
Locate the four corners of your court, measuring straight and square to accommodate your layout using only full 12-inch tiles. The most accurate approach starts from your slab centerline and measures outward in both directions. Pull a string line around the entire perimeter and secure it at the corners — this becomes your alignment guide.
2 BUILD YOUR CORNER SECTIONS
Snap together 3x4 tile sheets (12 tiles each) at all four corners. Line these corner sheets up with your string guide until they're perfectly square. Make certain every tile's male and female locks face the same direction throughout.
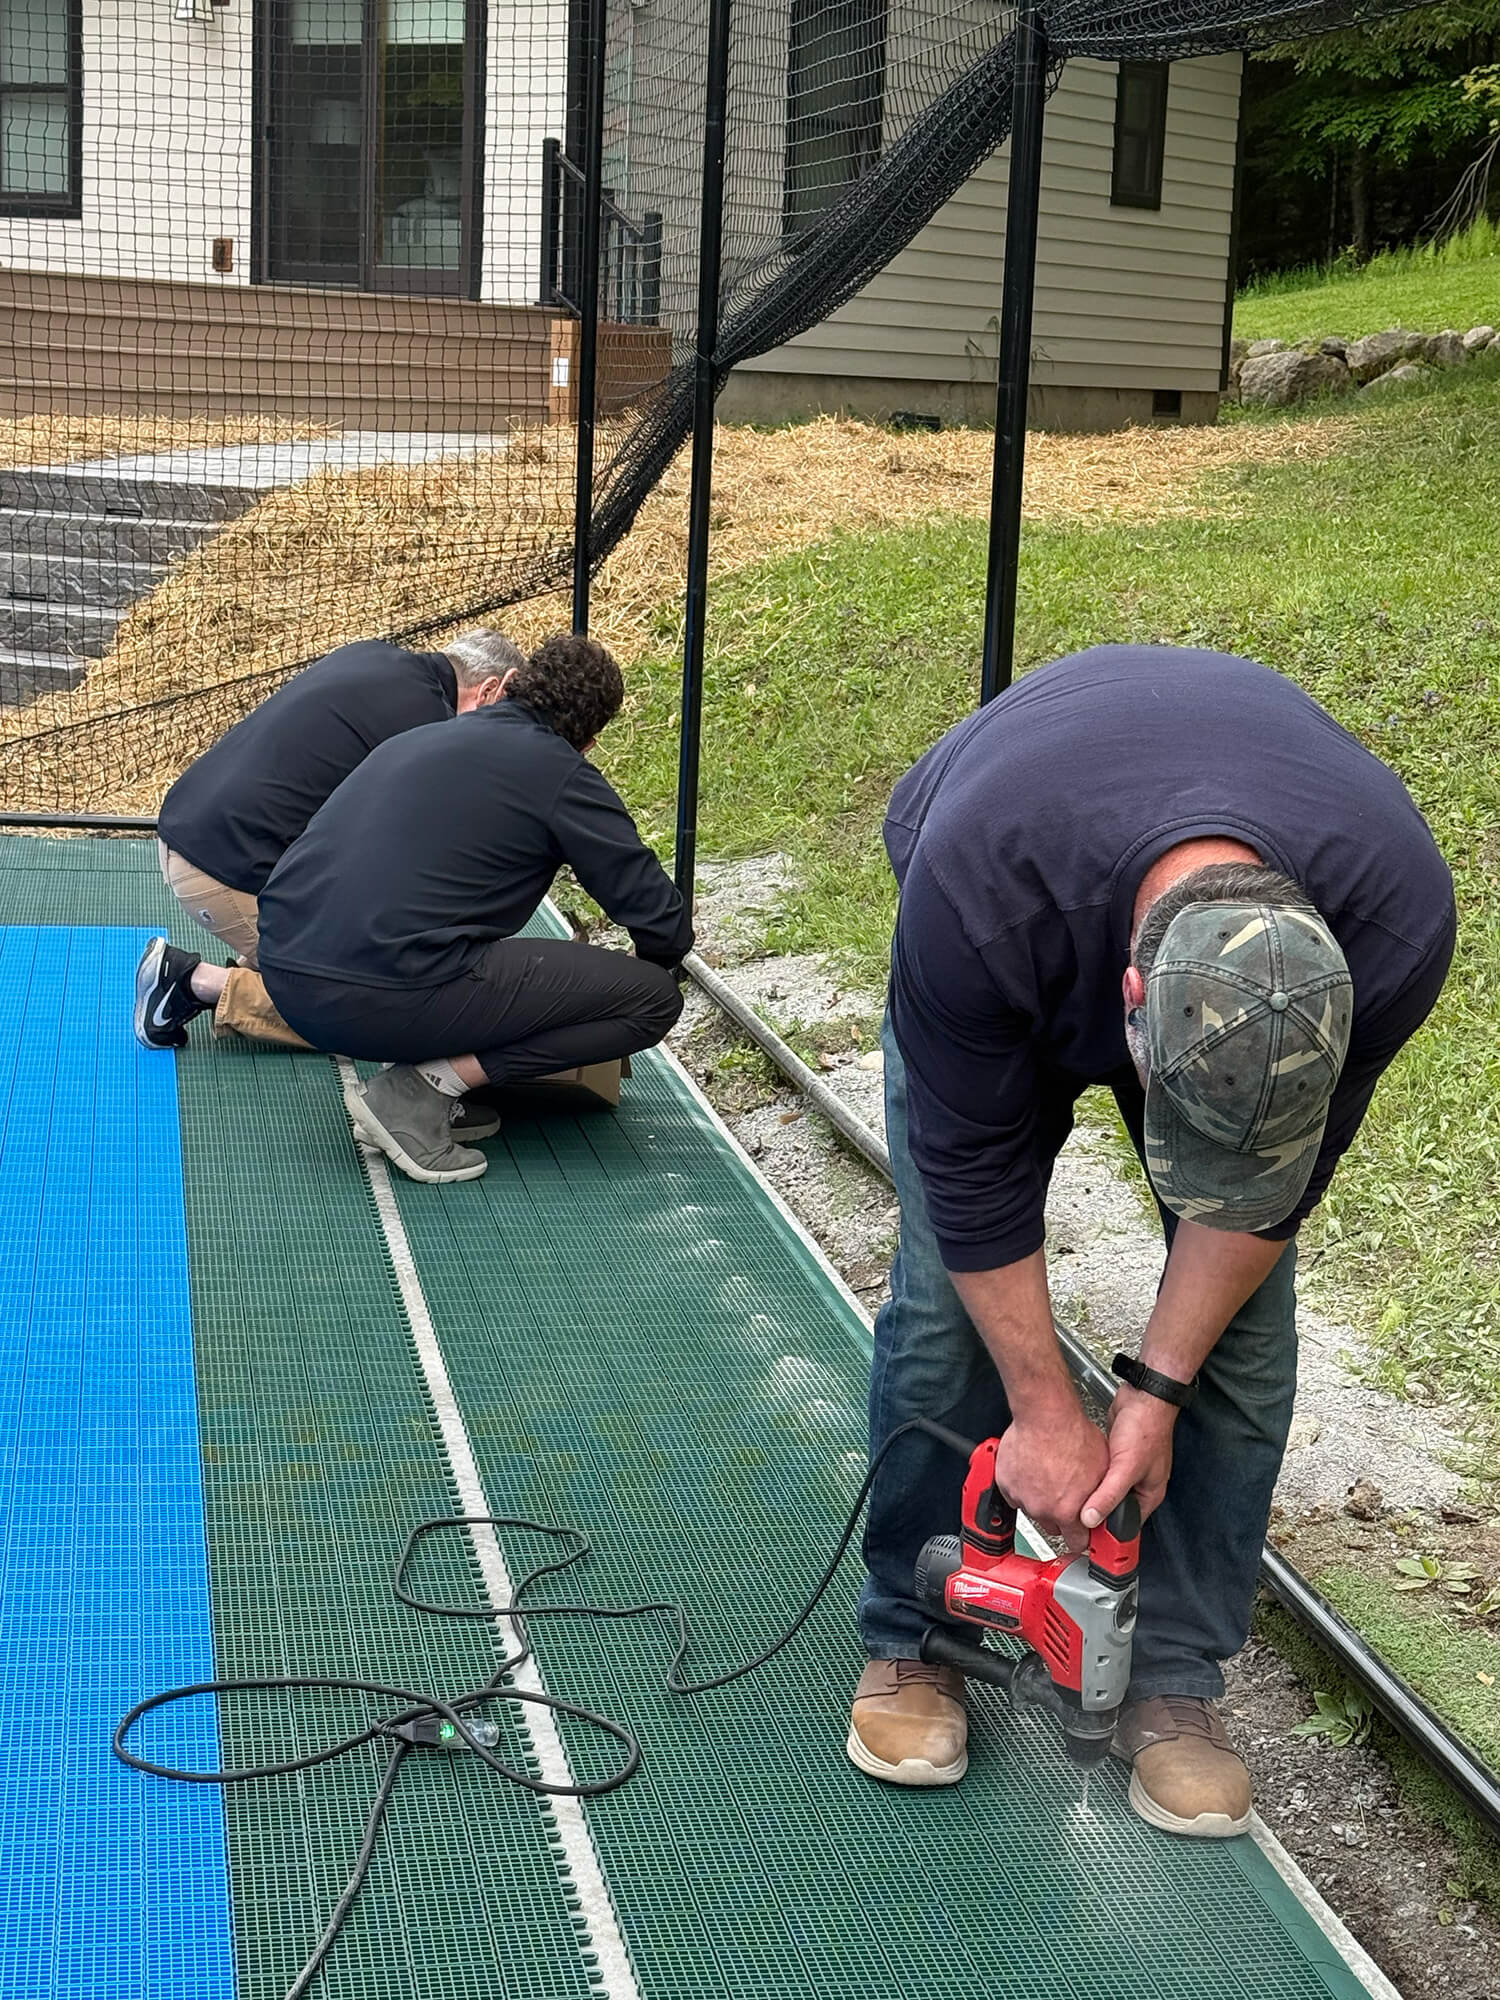
3 FASTEN THE CORNERS
Once a corner section aligns squarely with the string line, secure it to your base. Place fasteners every 9 inches along the back edge and side edge of each corner section.
Drive fasteners through the tile openings in the second flex-joint row inward from the perimeter, centered in the small support block.
- Concrete base: Use 1¾" x #12 galvanized flat-head screws
- Asphalt base: Use the special spikes provided by Matéflex
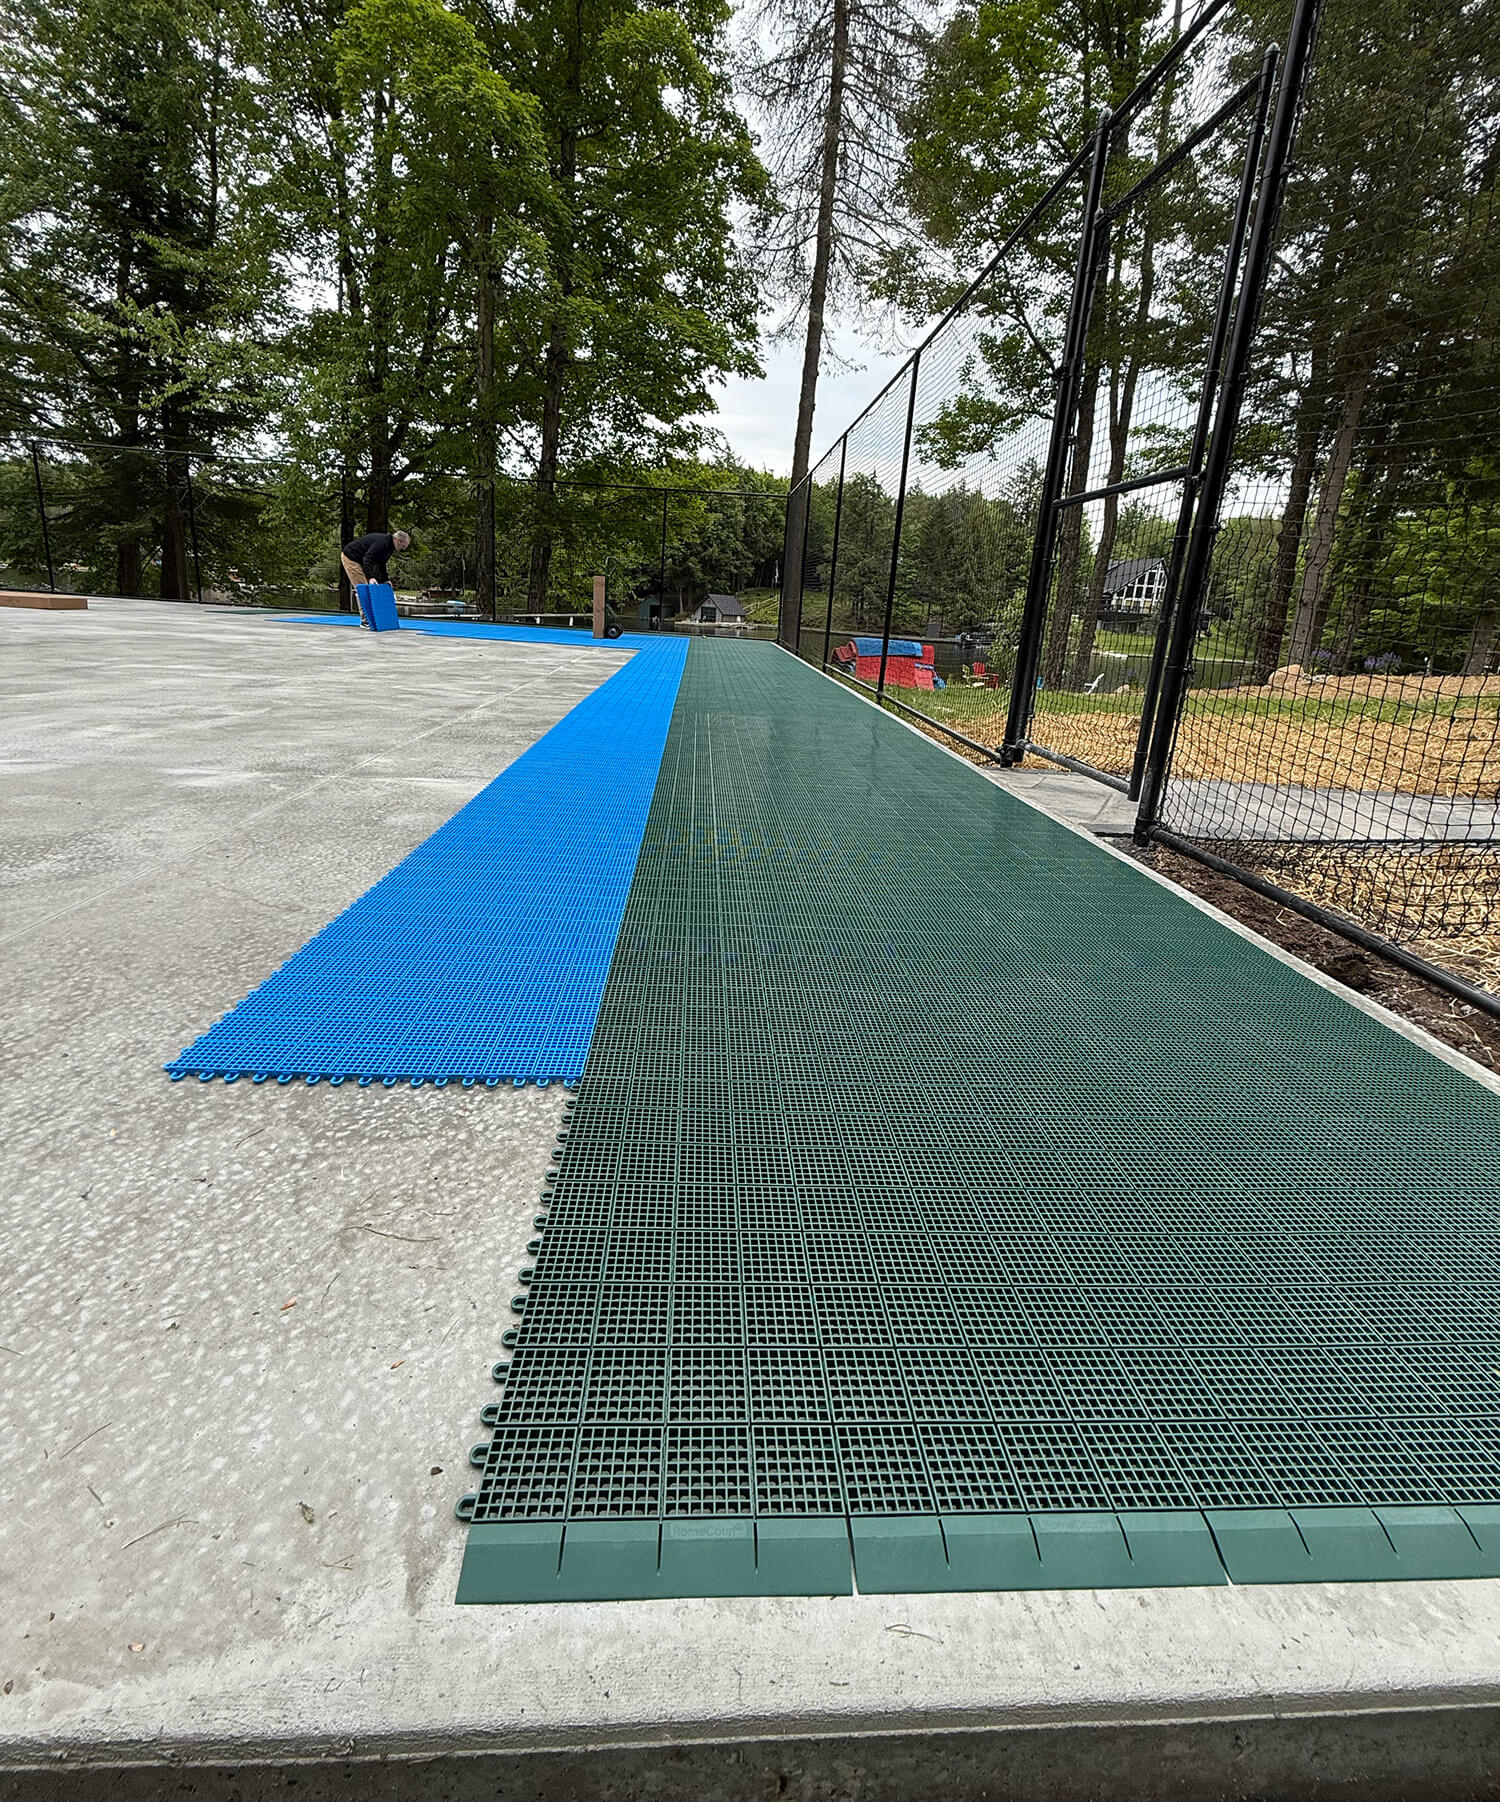
4 COMPLETE THE END ROWS
With all four corners fastened down, assemble a row of 3 or 4 tiles running completely across each end of the court. Fasten these end sections to the base along their back edge using the same 9-inch spacing and fastener placement as the corners.
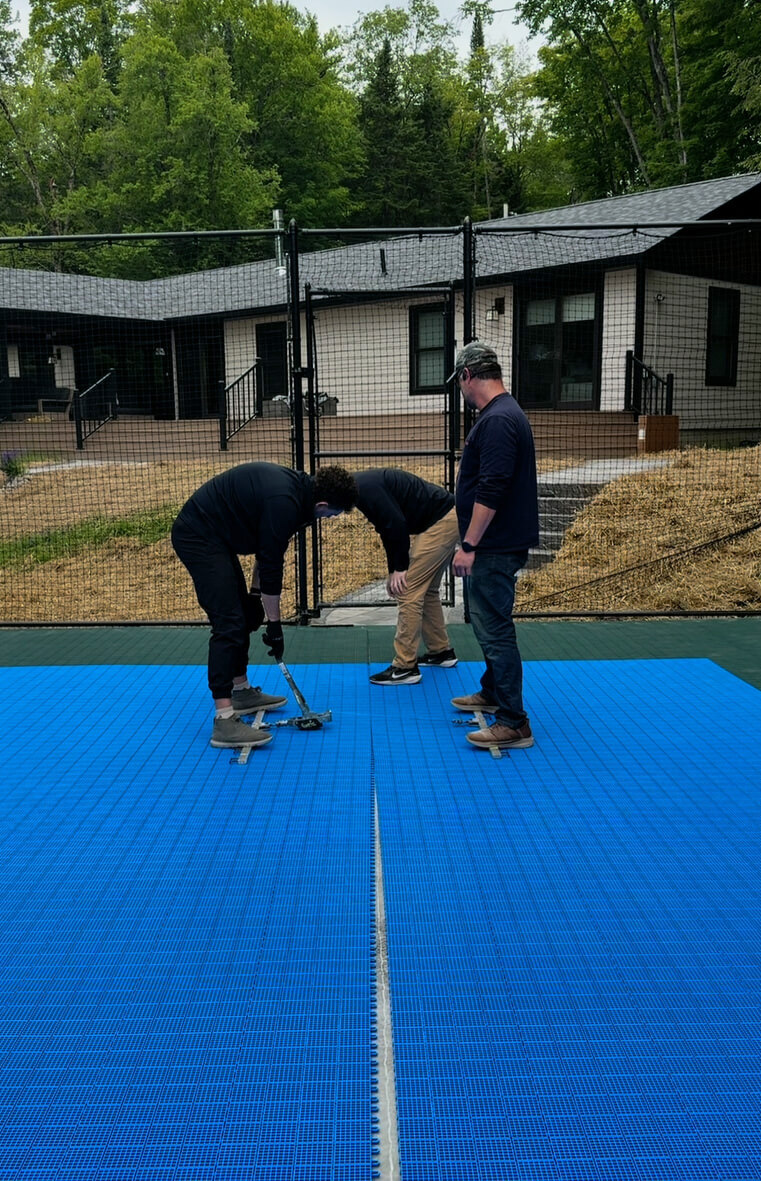
5 FILL THE COURT CENTER
Lay out and assemble the remaining tiles according to your numbered layout plan. Work from both ends of the court toward the center (net) line. Keep lock orientations consistent as you progress.
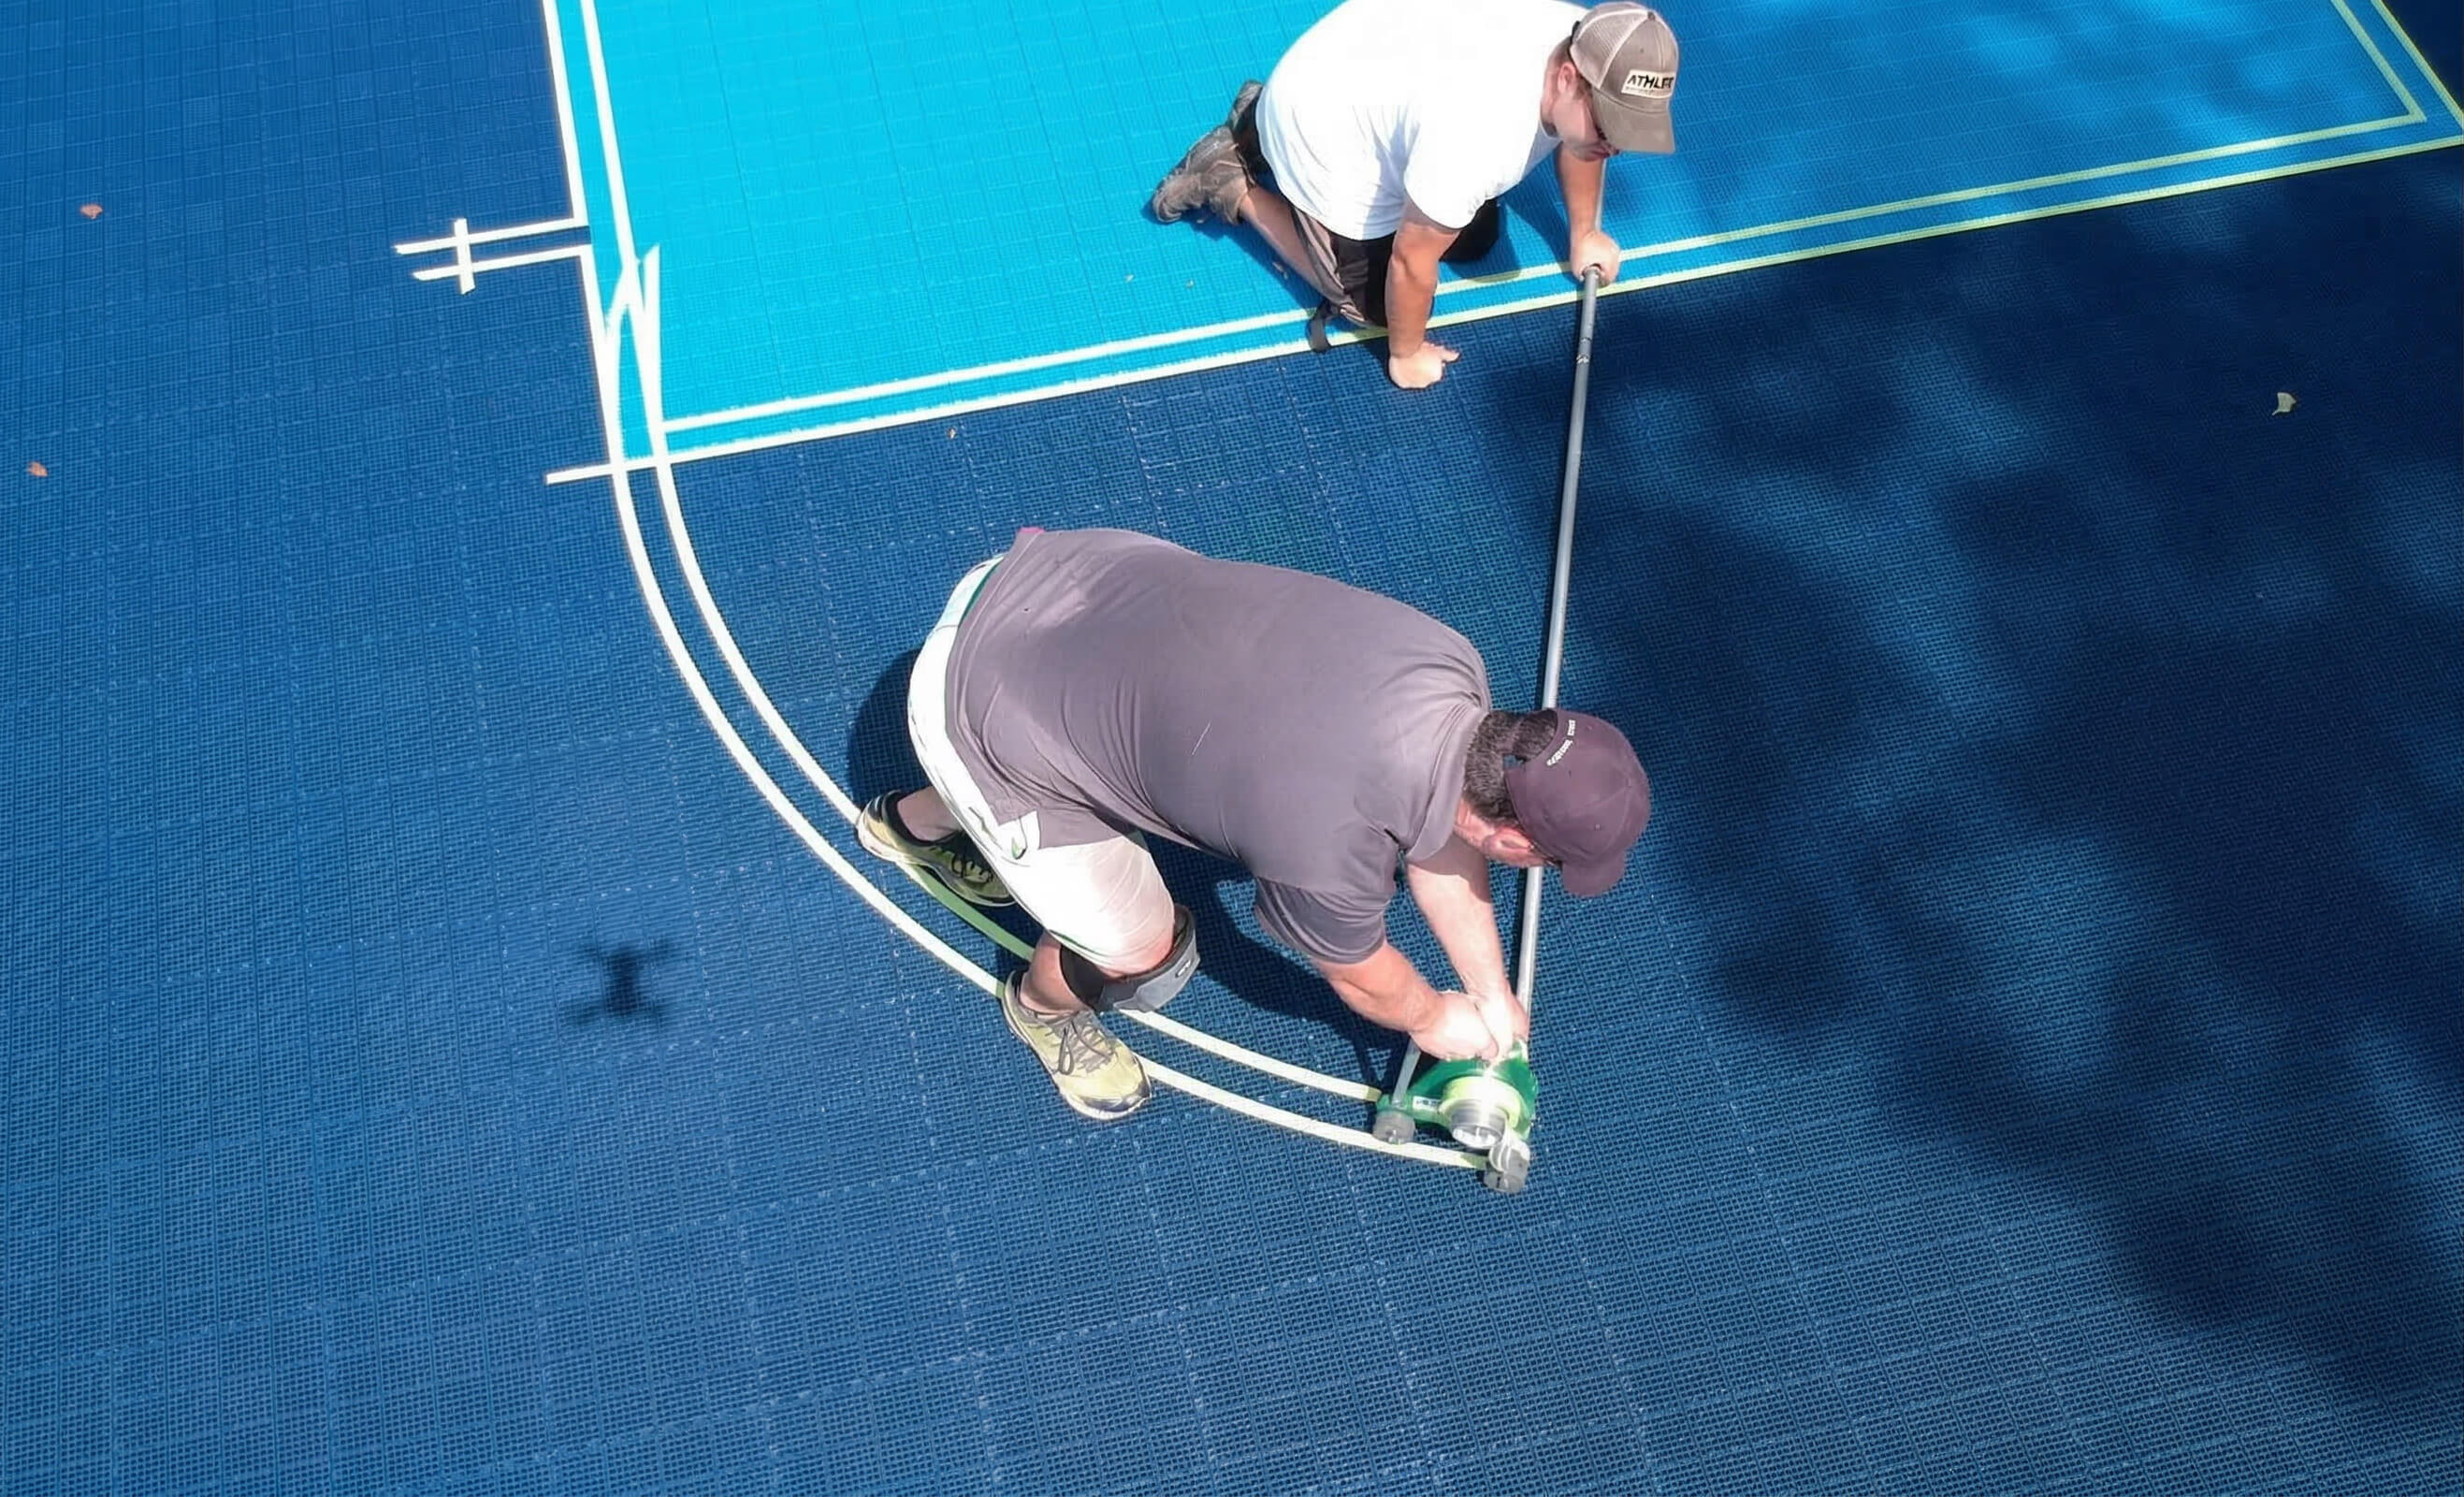
6 CLOSE ANY GAPS
If you find spacing, gaps, or misalignment where sections meet at the center, use Matéflex rakes and come-along tools to pull everything tight before final assembly.